Building a Round House
Part 4 - Interior Work - Upstairs (Main Floor)
Summer - Fall 2006
Now things slow down as we work on the interior. (View the floor plans.)
Framing

Wall between living room and bedroom.

Loft above center area of house.
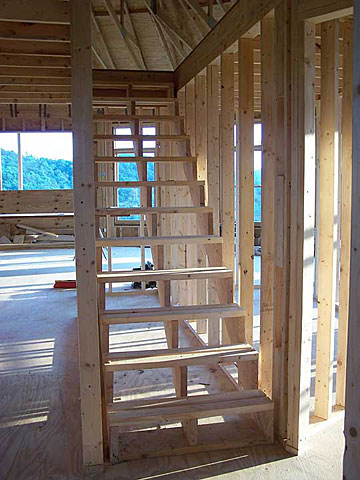
Stairs to the loft.

Foyer-to-be
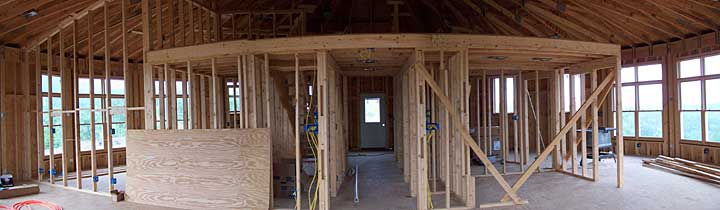
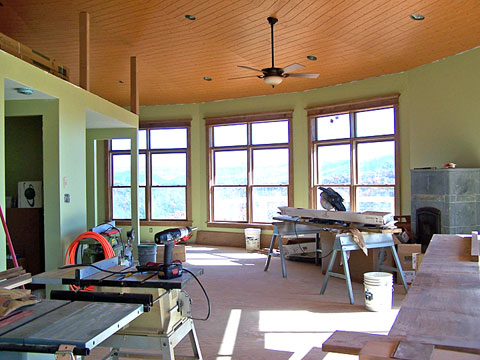
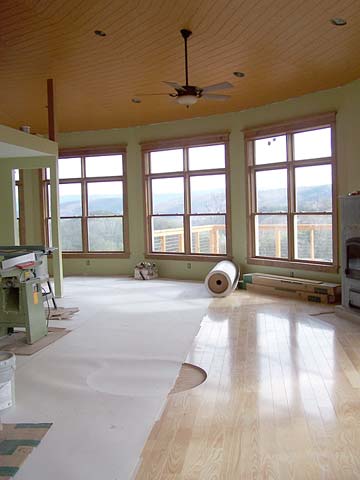
This composite of three photos shows the entire "great room"
back wall and loft.
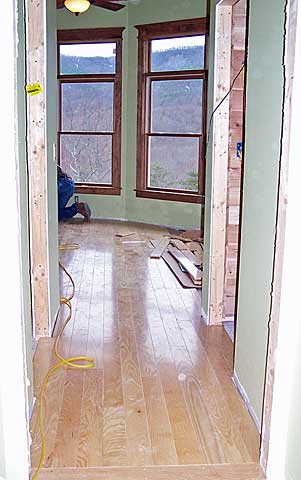
Foyer and Hall
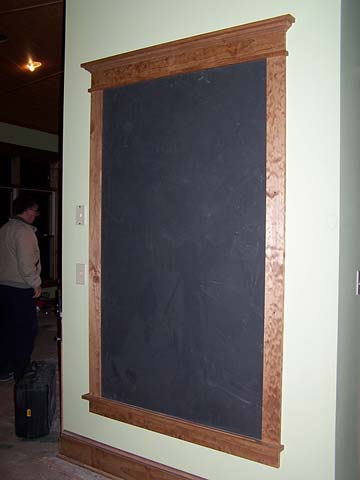
An old slate blackboard trimmed out to match the windows and doors is
a prominent feature of the foyer.

Tiffany-style pendant light in the foyer.

Hardwood flooring in "Fort Pitt Tunnel" hall.
Great Room (Living-Dining Areas)

Living room end of "great room".
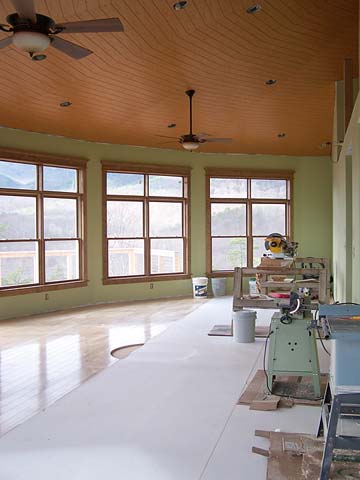
Hardwood floor installed--hole is for the compass rose medallion.
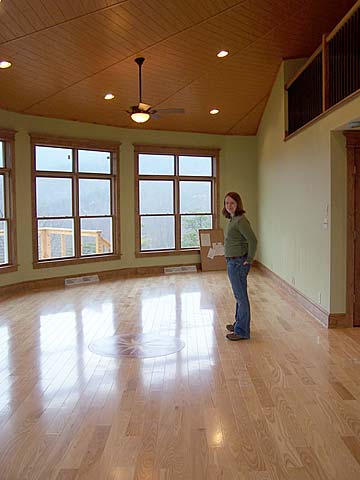
Cleaned up and just about ready to use.

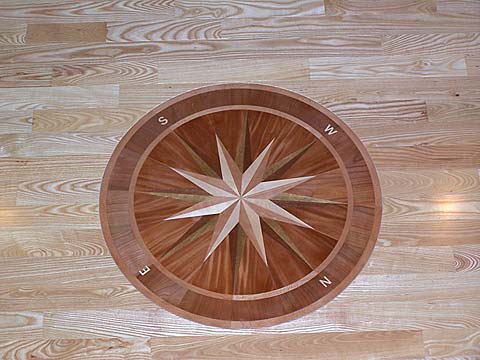
Dining room side of "great room".
Hardwood floor installed--hole is for the compass rose medallion.

Christy and John admire the parquet
compass rose medallion.

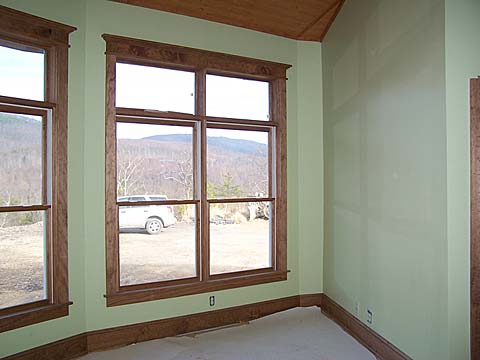
Dining area with paint and most of the window trim.

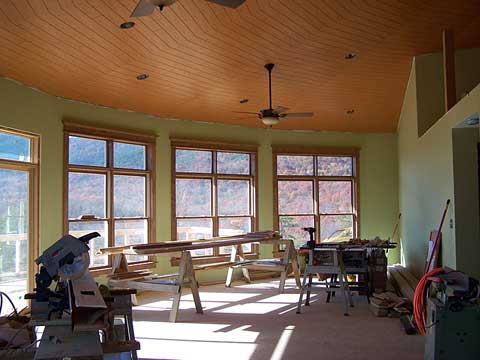
Installing ash floor in the study/computer nook.

This composite photo shows the completed loft railing. John gets to be
two places at once and Lon sports a strange "do"!

Composite photo showing the "Great Room" from the hall entry.

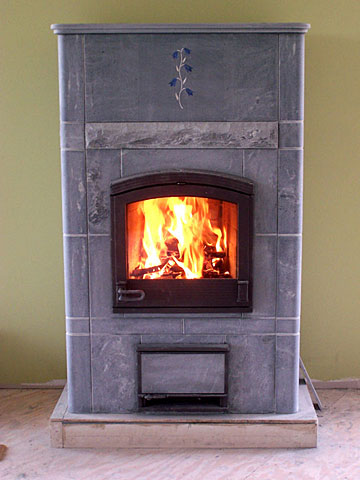
Our main source of heat is a Tulikivi
soapstone fireplace.
Loft

Stairway up to loft.

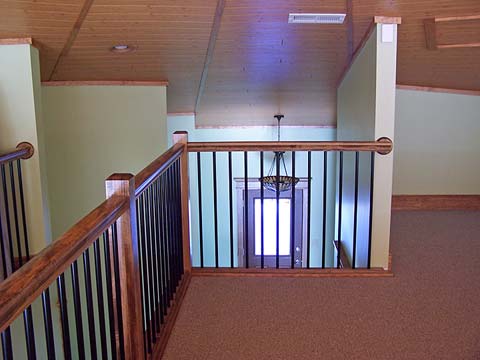
Railing around the loft. You can also see that most of the "ribs"
in the ceiling have been installed.

Loft is complete--carpet installed.

Kitchen

Kitchen-to-be. Pantry is on the left. Refrigerator "nook" is
in the back.

Kitchen after painting and flooring, but obviously, before cabinets and
appliances.

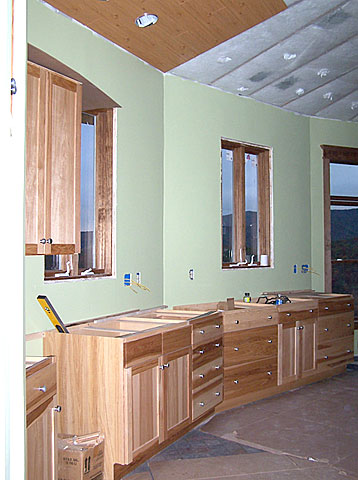
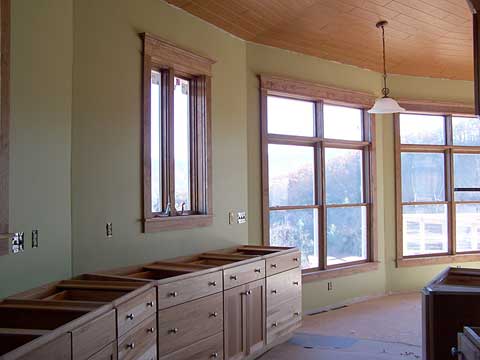
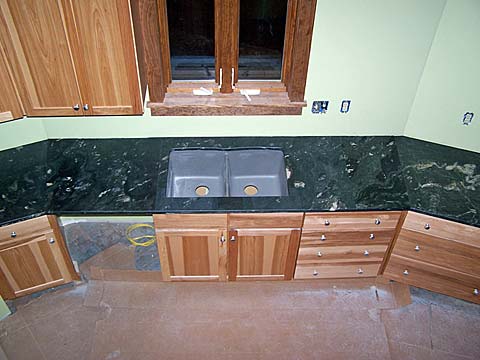
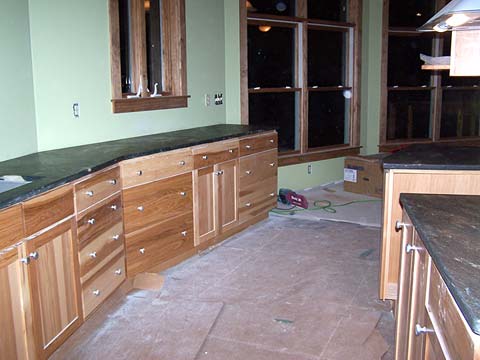
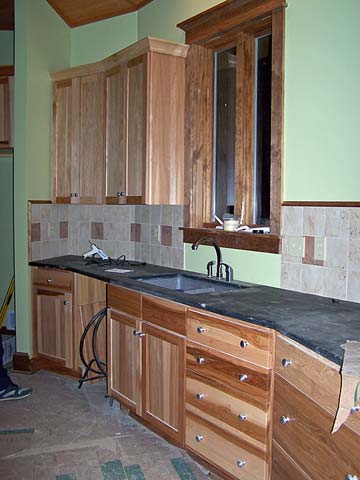
The kitchen takes shape as cabinetry is installed.

Cabinets, ceiling, and window trim completed. Lighting still has a ways
to go!
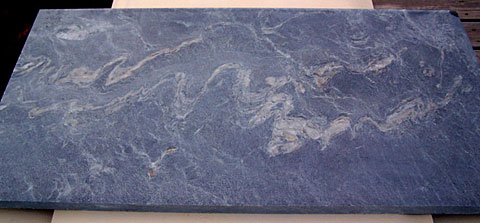
One of six slabs of soapstone that will be used for our kitchen counters.

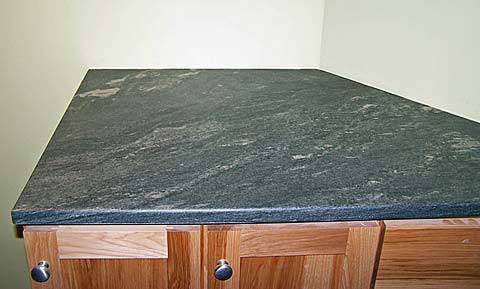
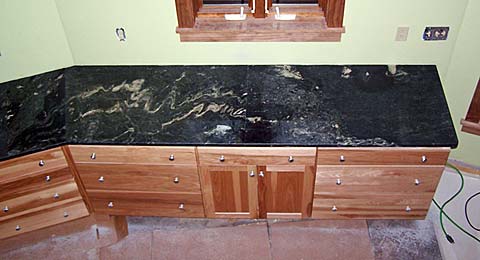
Above: Countertop after waxing. Below: Countertop before waxing.
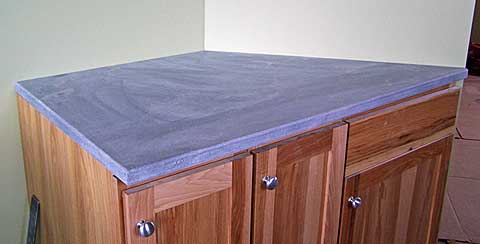
Same countertop after waxing
The countertop on the other side of the kitchen required pieceing slabs
together.

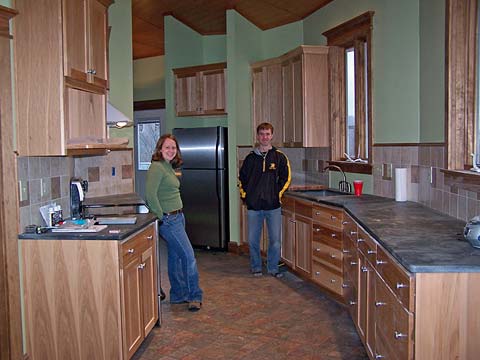
The kitchen just needs a backsplash and appliances.
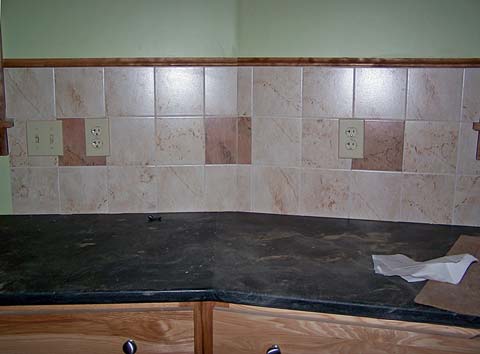
The backsplash is ceramic tile, with left-over soapstone tiles in back
of the kitchen sink.
Almost complete --appliances have been added.

Soapstone backsplash has been installed behind sink. The drinking water
purifier takes most of the iron out of the water--but it tastes fine without
it. We still need to disinfect all the water lines in the house before
we can pass the health department's water test and get a "certificate
of occupancy".
Baths
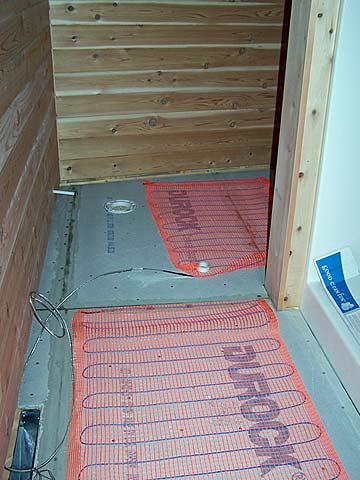
Left: Master bath has western cedar walls and a heated floor.
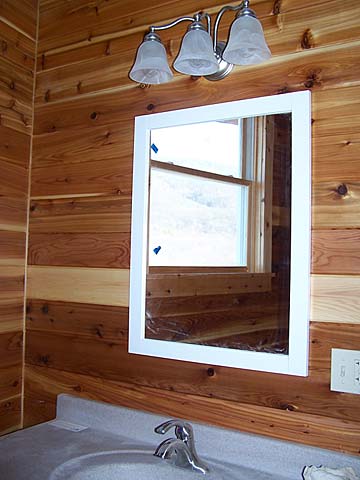
Right: Walls have been sealed with polyurethane and vanity and sink have
been installed. It's almost impossible to get a picture of any sort in
this room!

Half-bath / Powder room / Guest bath -- take your pick!
Master Bedroom
It's difficult to get a decent picture in the master bedroom.

Left: Ash hardwood floor being installed in the master bedroom. The walk-in
closet is on the left and the master bath is on the right.
Right: Eastern redcedar wall in closet. It really is that purple--and
the flooring in the corner is hard rock maple we used when we ran a half-box
short on the ash floor (oops!).

The main-floor master bedroom is just about done.
Continue to Part 4 - Downstairs | Return to Index Page
Susan Wells Rollinson
Remodeled October 2019. Updated 1/28/07.